Lens cleaning
A dirty lens reduces laser power and causes poor cutting quality. Regular lens cleaning maintains optimal performance and extends lens life. Clean your lens when you notice reduced power, inconsistent cuts, or visible residue on the lens surface.
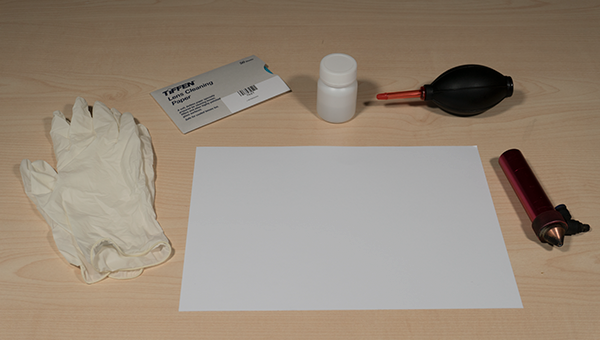
Required materials
Section titled “Required materials”- Clean workspace with good lighting
- Lens paper (specialized optical paper)
- 70% isopropyl alcohol
- Hand air pump blower
- Latex or nitrile gloves
- Flathead screwdriver (small)
- Clean white paper (to work on)
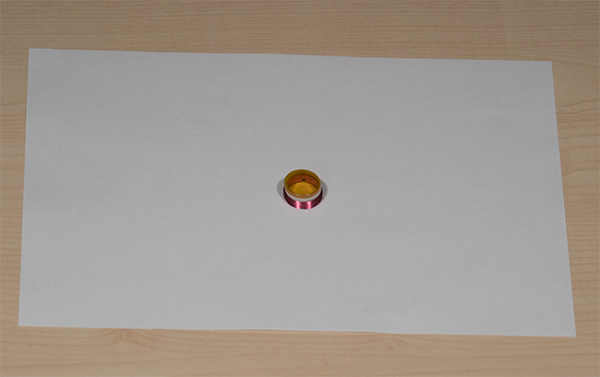
Prepare your workspace: Make sure the area is clean and dust free so the lens does not get contaminated during cleaning.
Step 1: Remove the lens shaft from laser head
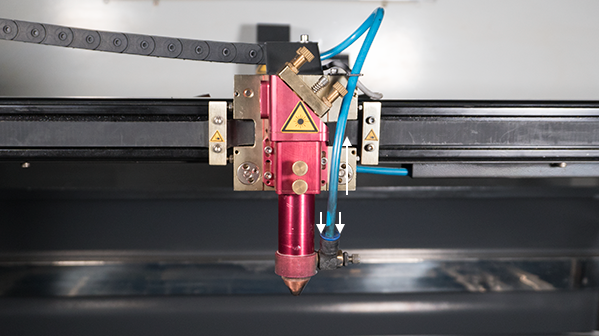
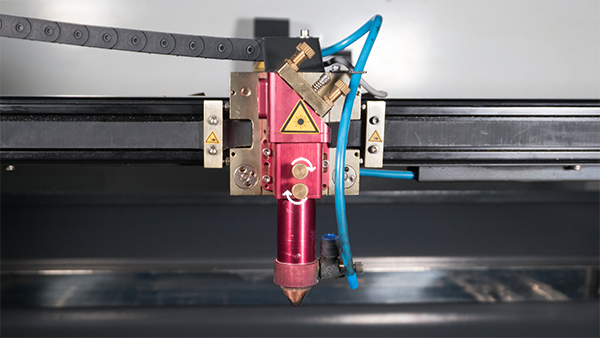
Section titled “Step 1: Remove the lens shaft from laser head”The lens is located inside the lens shaft, which sits in the laser head. You need to remove the entire lens shaft first.
Disconnect air hose and autofocus sensor
Section titled “Disconnect air hose and autofocus sensor”-
Remove air hose: Push down the blue ring on the air coupling and pull up the hose
-
Disconnect autofocus sensor (if equipped):
- Locate the black plug with silver ring at the top of the sensor
- Twist the silver ring counterclockwise
- Pull the plug straight up and out
Remove lens shaft
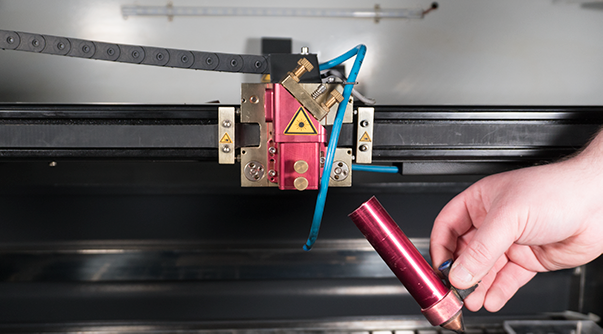
Section titled “Remove lens shaft”-
Loosen fixation bolt(s) on the laser head by turning counterclockwise
-
Carefully remove the lens shaft from the laser head

Step 2: Disassemble the lens shaft
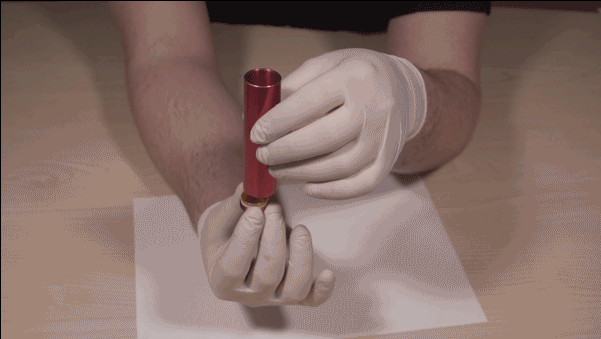
Section titled “Step 2: Disassemble the lens shaft”Take the lens shaft to your clean workstation.
-
Remove nozzle and nozzle mount by unscrewing, set aside
-
Note the lens position: If your lens shaft has multiple threaded positions (top and bottom), remember which position the lens is in. You must reinstall it in the exact same position.
-
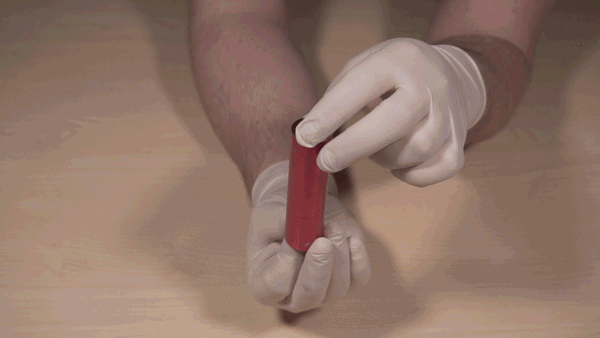
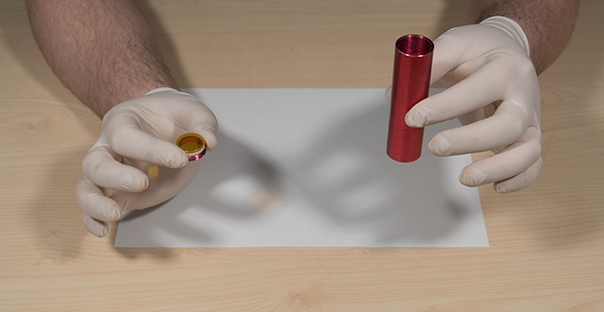
Put on latex gloves to protect the lens coating from oils and fingerprints
Extract the lens
Section titled “Extract the lens”- Loosen the lens fixation ring using a small flathead screwdriver:
- Insert screwdriver tip into one of the small notches in the ring
- Apply gentle pressure and rotate counterclockwise
- Be careful the screwdriver does not slip and damage the lens
- Once loose, continue unscrewing by hand
- Hold the lens shaft carefully:
- Hold the shaft at the top
- Let the lens fixation ring, white lens ring, and lens sit at the bottom
- Carefully unscrew the fixation ring completely
- Do not drop the lens (it is fragile and will break if dropped)
Step 3: Clean the lens
Section titled “Step 3: Clean the lens”Set aside the lens fixation ring and white lens ring. Hold the lens carefully by its edges only.
Remove loose dirt
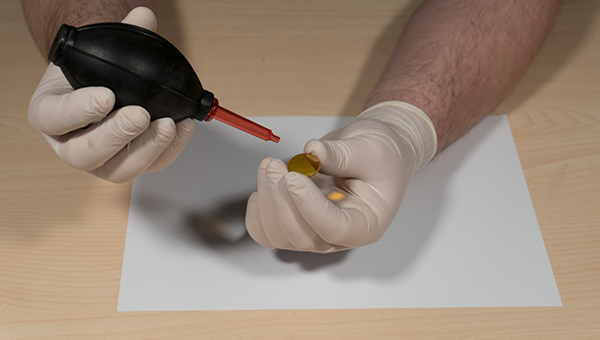
Section titled “Remove loose dirt”- Use the hand air pump blower to remove loose dust and particles
- Hold the pump at an angle to the lens surface
- Blow air across the lens, not directly into it
- This prevents particles from scratching during wet cleaning
Wet cleaning process
Section titled “Wet cleaning process”-
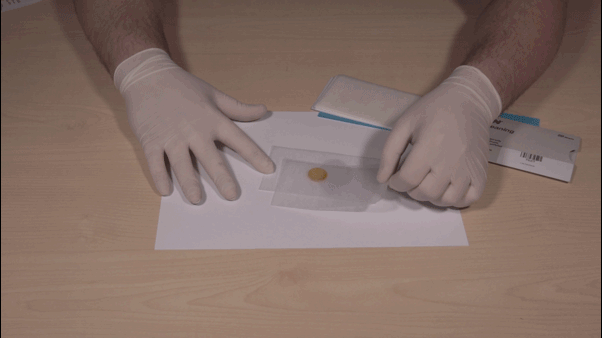
Prepare the lens paper sandwich:
- Place one sheet of lens paper on your clean white paper
- Place the lens on top of the lens paper
- Place another sheet of lens paper on top of the lens
-
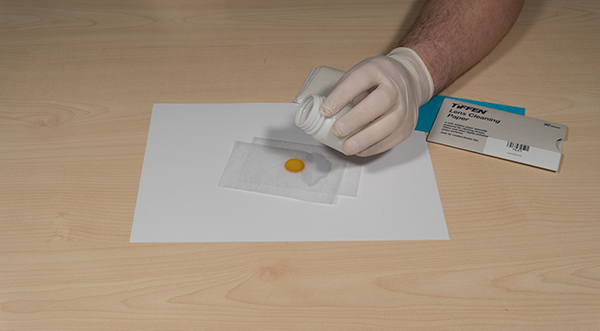
Apply alcohol:
- Add 1 to 2 drops of 70% isopropyl alcohol to the top lens paper
- The lens paper should be damp, not soaking wet
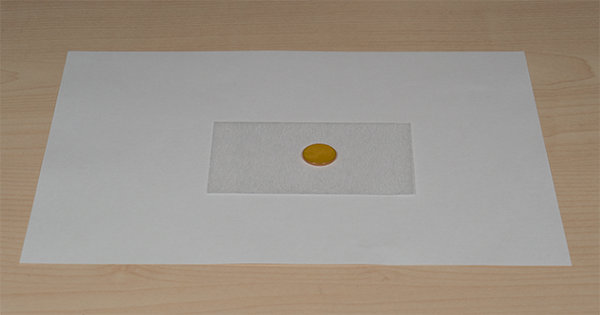
- Wipe the lens clean:
- Gently pull the top sheet of lens paper across the lens in one smooth motion
- Do not scrub or apply pressure
- The lens paper will lift dirt and dry the surface simultaneously
- Clean the other side:
- Flip the lens over
- Repeat steps 2 through 4 for the other side
- Inspect both sides to ensure they are completely clean with no streaks or residue
Step 4: Reassemble the lens
Section titled “Step 4: Reassemble the lens”Once the lens is completely clean and dry, reassemble the lens assembly.
Critical: Check lens orientation
Section titled “Critical: Check lens orientation”The convex (curved) side must face UP toward the mirror. Installing the lens backwards will cause:
- Incorrect focus height
- Poor cutting quality
- Thick, unfocused beam
Assembly order (from bottom to top):
Section titled “Assembly order (from bottom to top):”- Lens fixation ring (threads facing up)
- White lens ring
- Lens with convex side facing UP
- This assembly screws into the lens shaft
Step 5: Install lens shaft back into laser head
Section titled “Step 5: Install lens shaft back into laser head”- Screw the lens assembly into the lens shaft from below
- Hold the lens shaft in one hand
- Hold the lens assembly (fixation ring, white ring, lens) in the other
- Carefully thread the fixation ring into the lens shaft
- Tighten snugly but do not over-tighten
-
Reattach nozzle and nozzle mount to the lens shaft
-
Insert lens shaft into laser head
- Align the shaft with the mounting hole
- Push firmly until fully seated
-
Tighten fixation bolt(s) on the laser head by turning clockwise
Reconnect air hose and autofocus
Section titled “Reconnect air hose and autofocus”-
Reinsert air hose into the air coupling
- Push the hose into the coupling until you hear a click
- Gently pull to verify it is locked in place
-
Reconnect autofocus sensor (if equipped):
- Locate the small alignment pin inside the plug
- Align the pin with the hole in the sensor (only fits one way)
- Push the plug straight down into the sensor
- Twist the silver ring clockwise to lock
After cleaning
Section titled “After cleaning”Your machine is now ready to operate. Test with a small job to verify proper focus and cutting quality.
Need help? Submit a ticket if you experience issues after cleaning.
Cleaning schedule
Section titled “Cleaning schedule”- Light use (education): Clean every 2 to 3 months
- Medium use (creative): Clean monthly
- Heavy use (production): Clean weekly or when power drops
Signs you need to clean:
- Reduced cutting power
- Inconsistent engraving depth
- Poor edge quality
- Visible smoke residue or dirt on lens surface